Archives for category: Uncategorized

Inspired by the paintings of Matisse and other impressionists. I had students look at still lives of flowers, fruits, and birds. They created four thumbnail sketches and incorporated elements of these images or chose their favorite as a final drawing. We discussed borders echoing the colors and the imagery of the main picture. The students once again worked on their watercolor techniques- wet on wet, gradated washes, and kosher salt thrown in for good measure. Nice bright pops of color and happy images of birds, flowers, and fruit. Happy end of summer!

flowerwatercolor5                 flowerwatercolor10 copy

I had the students practice watercolor techniques: salt, saran wrap, alcohol drops, wet on wet and transparent washes. They did at least 7 circular color fields and stems. I asked them to vary their colors.

The following week they used a black sharpie to outline images and add details. The students ended up finding shapes within shapes and animated some of the images, almost like surrealism.

flowerwatercolor4 copy                flowerwatercolor11

coloredpencilisabellajpgcopy1

I had the students look at boxed butterflies and natural elements that I checked out from the RISD Nature Lab, a visual library of natural history specimens. The students also viewed images of birds and flowers. We talked about spring and incorporating some type of border with natural elements. We also discussed how you can keep an image fresh, by not working it to death. Oftentimes, it’s best to have them start on the finished product (or on the good paper) only after their sketches are resolved, because, much like a writer working on a rough draft, if the sketch doesn’t show promise the final won’t either.

I liked the punch of the Prismacolor on the charcoal colored paper, Canson Pastel in Gray Tones, 9×12 paper was what we used.


Students sewed felt bears and stuffed them. Then they designed clothes, named their bears and created a companion book about their bear’s adventures. It was a long project, 5-6 weeks and they struggled with threading the needles and stitching up the bears, but I think they really enjoyed the challenge and I know they felt proud of their end products!

Students designed teacup cards for Mother’s Day. We used tissue paper with mod podge as a background and then they added design elements in colored and foil paper, buttons and gemstones. They wrote personal messages inside and we enclosed a bag of tea so all of the mom’s out there can have a cup of tea and relax


I cut out the shape of the fish onto a white poster board and then pasted colored tissue paper onto fish shapes in different colors with Mod Podge. Mod Podge is a water based sealer or glue, I selected the Gloss-Lustre because of the shine. I did this first step to save time. It takes a day to dry.

The students then got an assortment of tissue papers and a little bit of Reynolds wrap for detail and they cut and arranged patterns and shapes onto fish, when they were ready to glue they used the Mod Podge with a paint brush to anchor the image and some of them added a tail.

I had the students sketch out three ideas for images of foreign or imaginary countries. Some images were abstract and some were more illustrative. Students learned six techniques: wet on wet, gradated washes, solid washes, salt, rubbing alcohol drops with a q-tip, and saran wrap. I put no restrictions on their use of color or what techniques they used.

Vases made with newsprint, watercolors and paper collage. Children pasted the vases on red paper because the color red symbolizes good luck and joy in China. To make these vases into lanterns you add brown string at the top of vase. Inspired by the Lantern Festival, which marks the final day of the Chinese New Year celebration. It is the first full moon of their new year and symbolizes new beginnings. It falls in February or March.

By lighting lanterns people pray for a smooth future and best wishes for their families in the New Year. Happy New Year, we are in the Year of the Rooster!

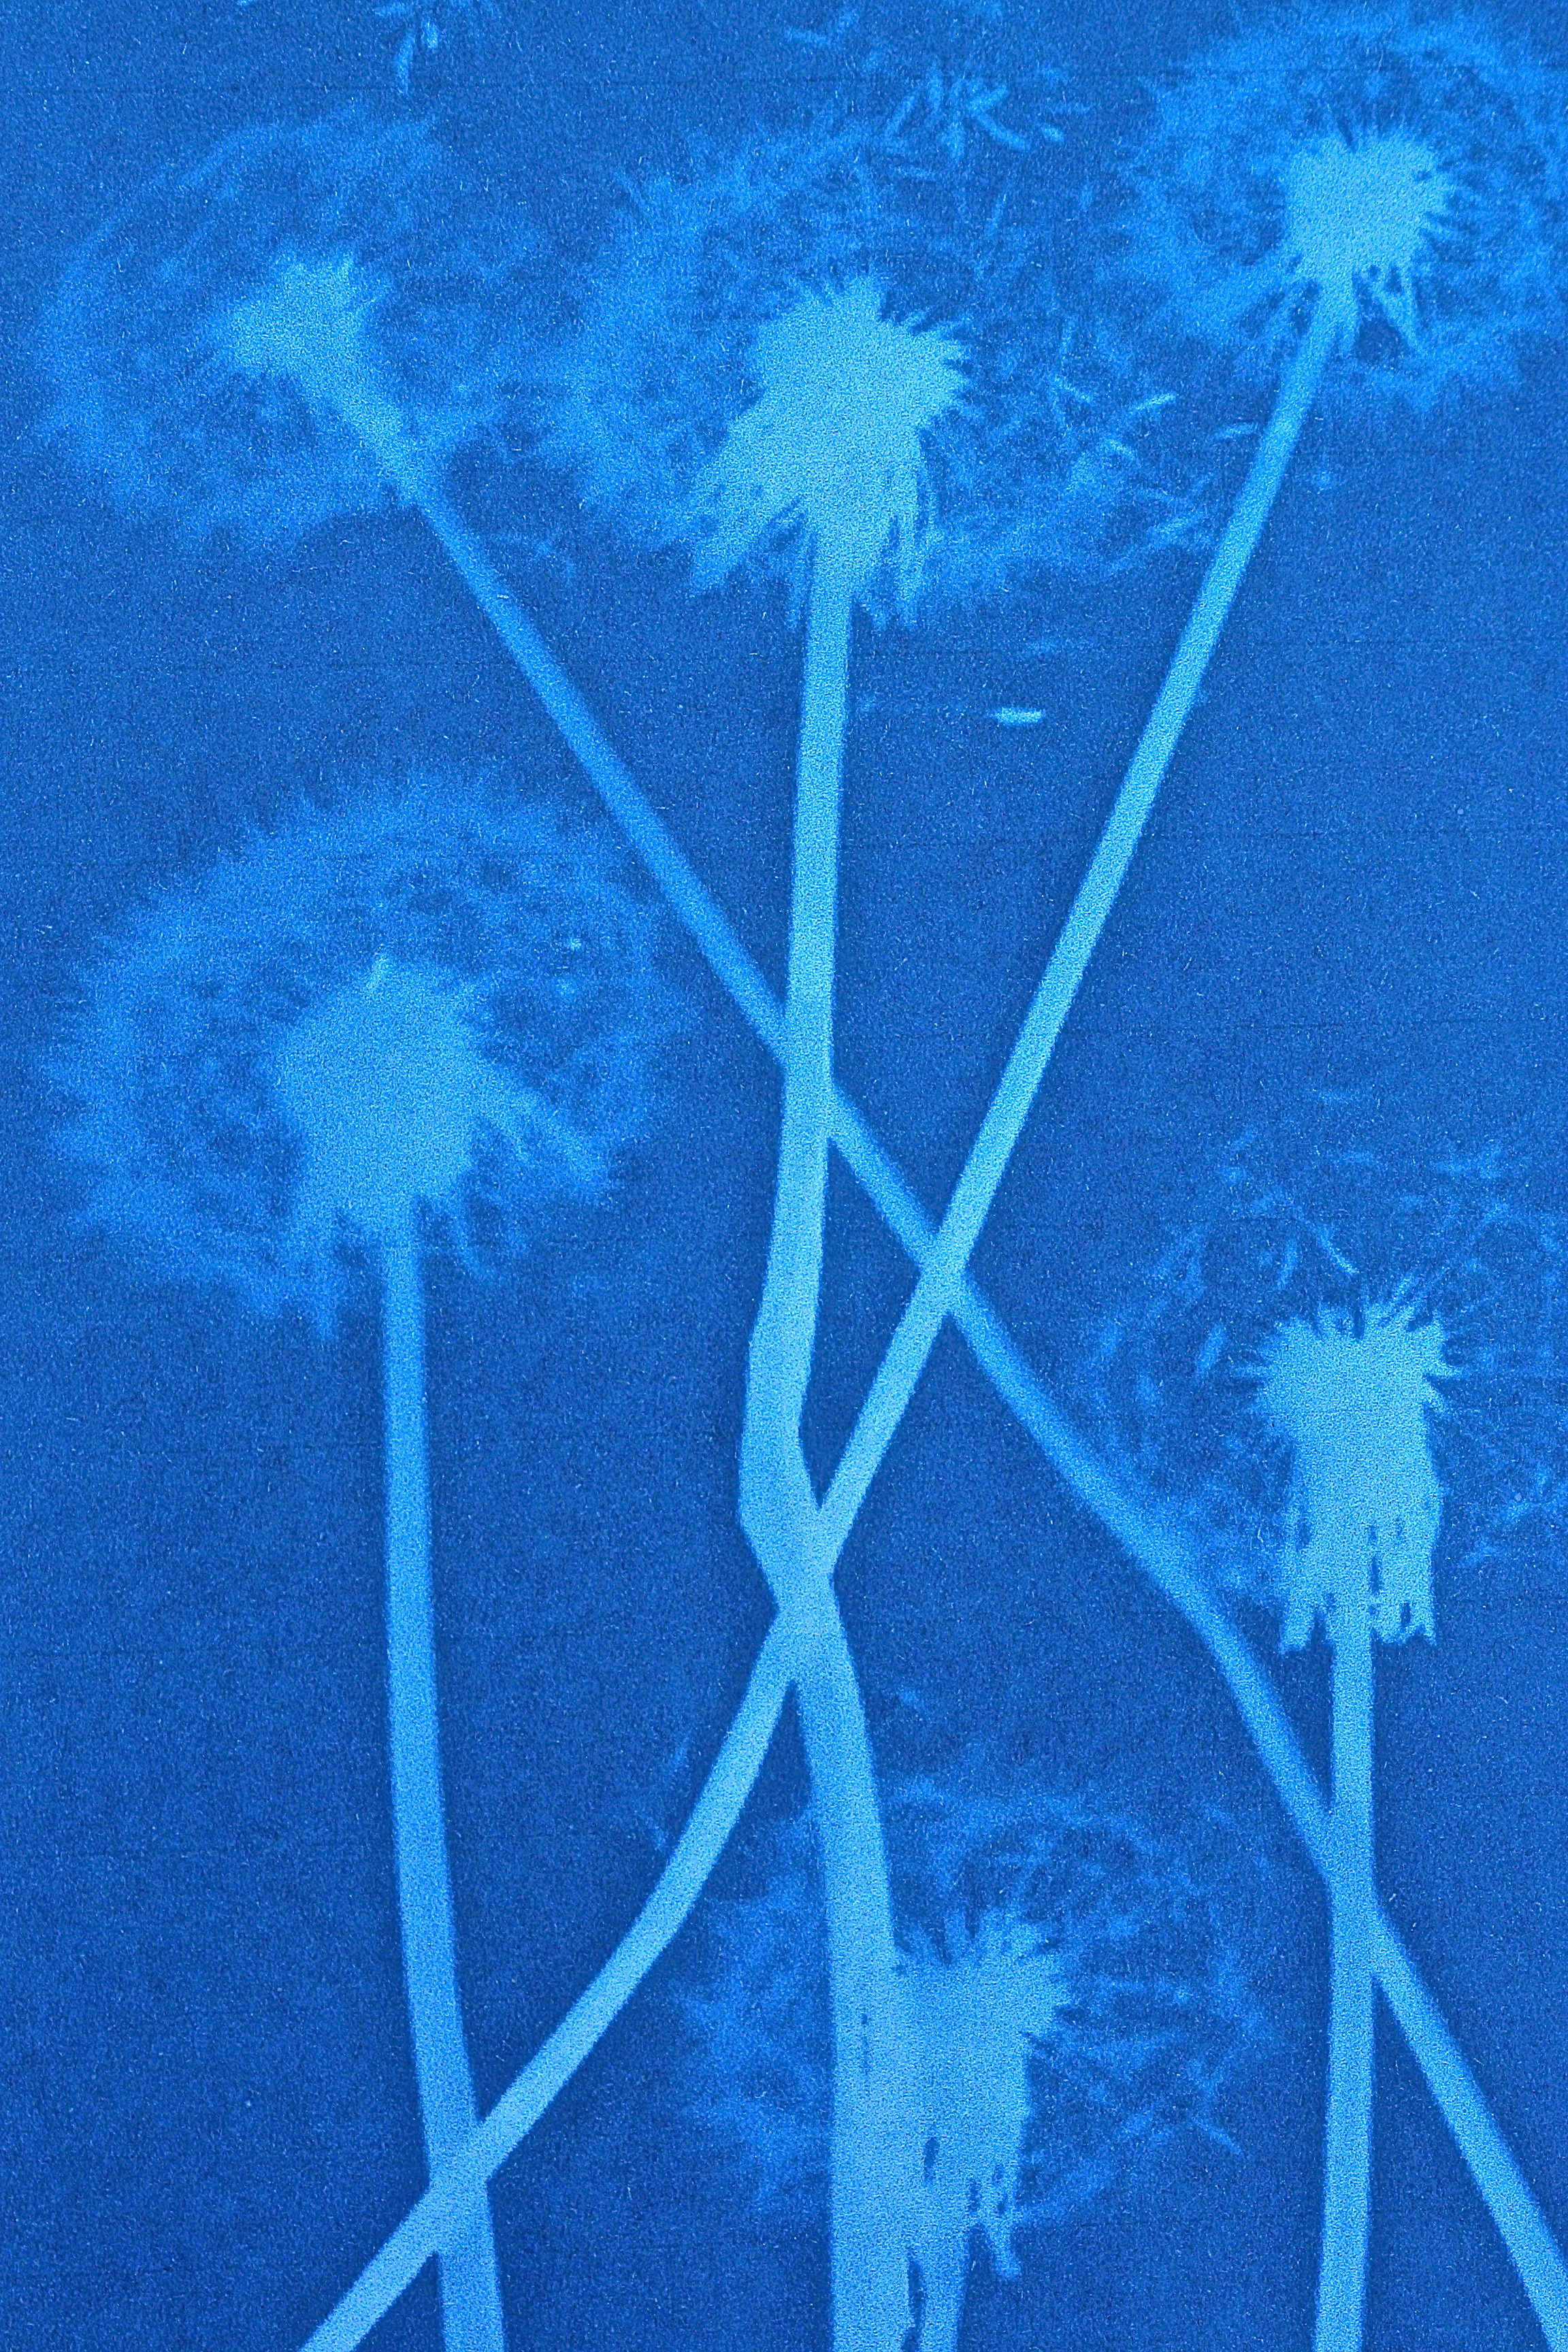
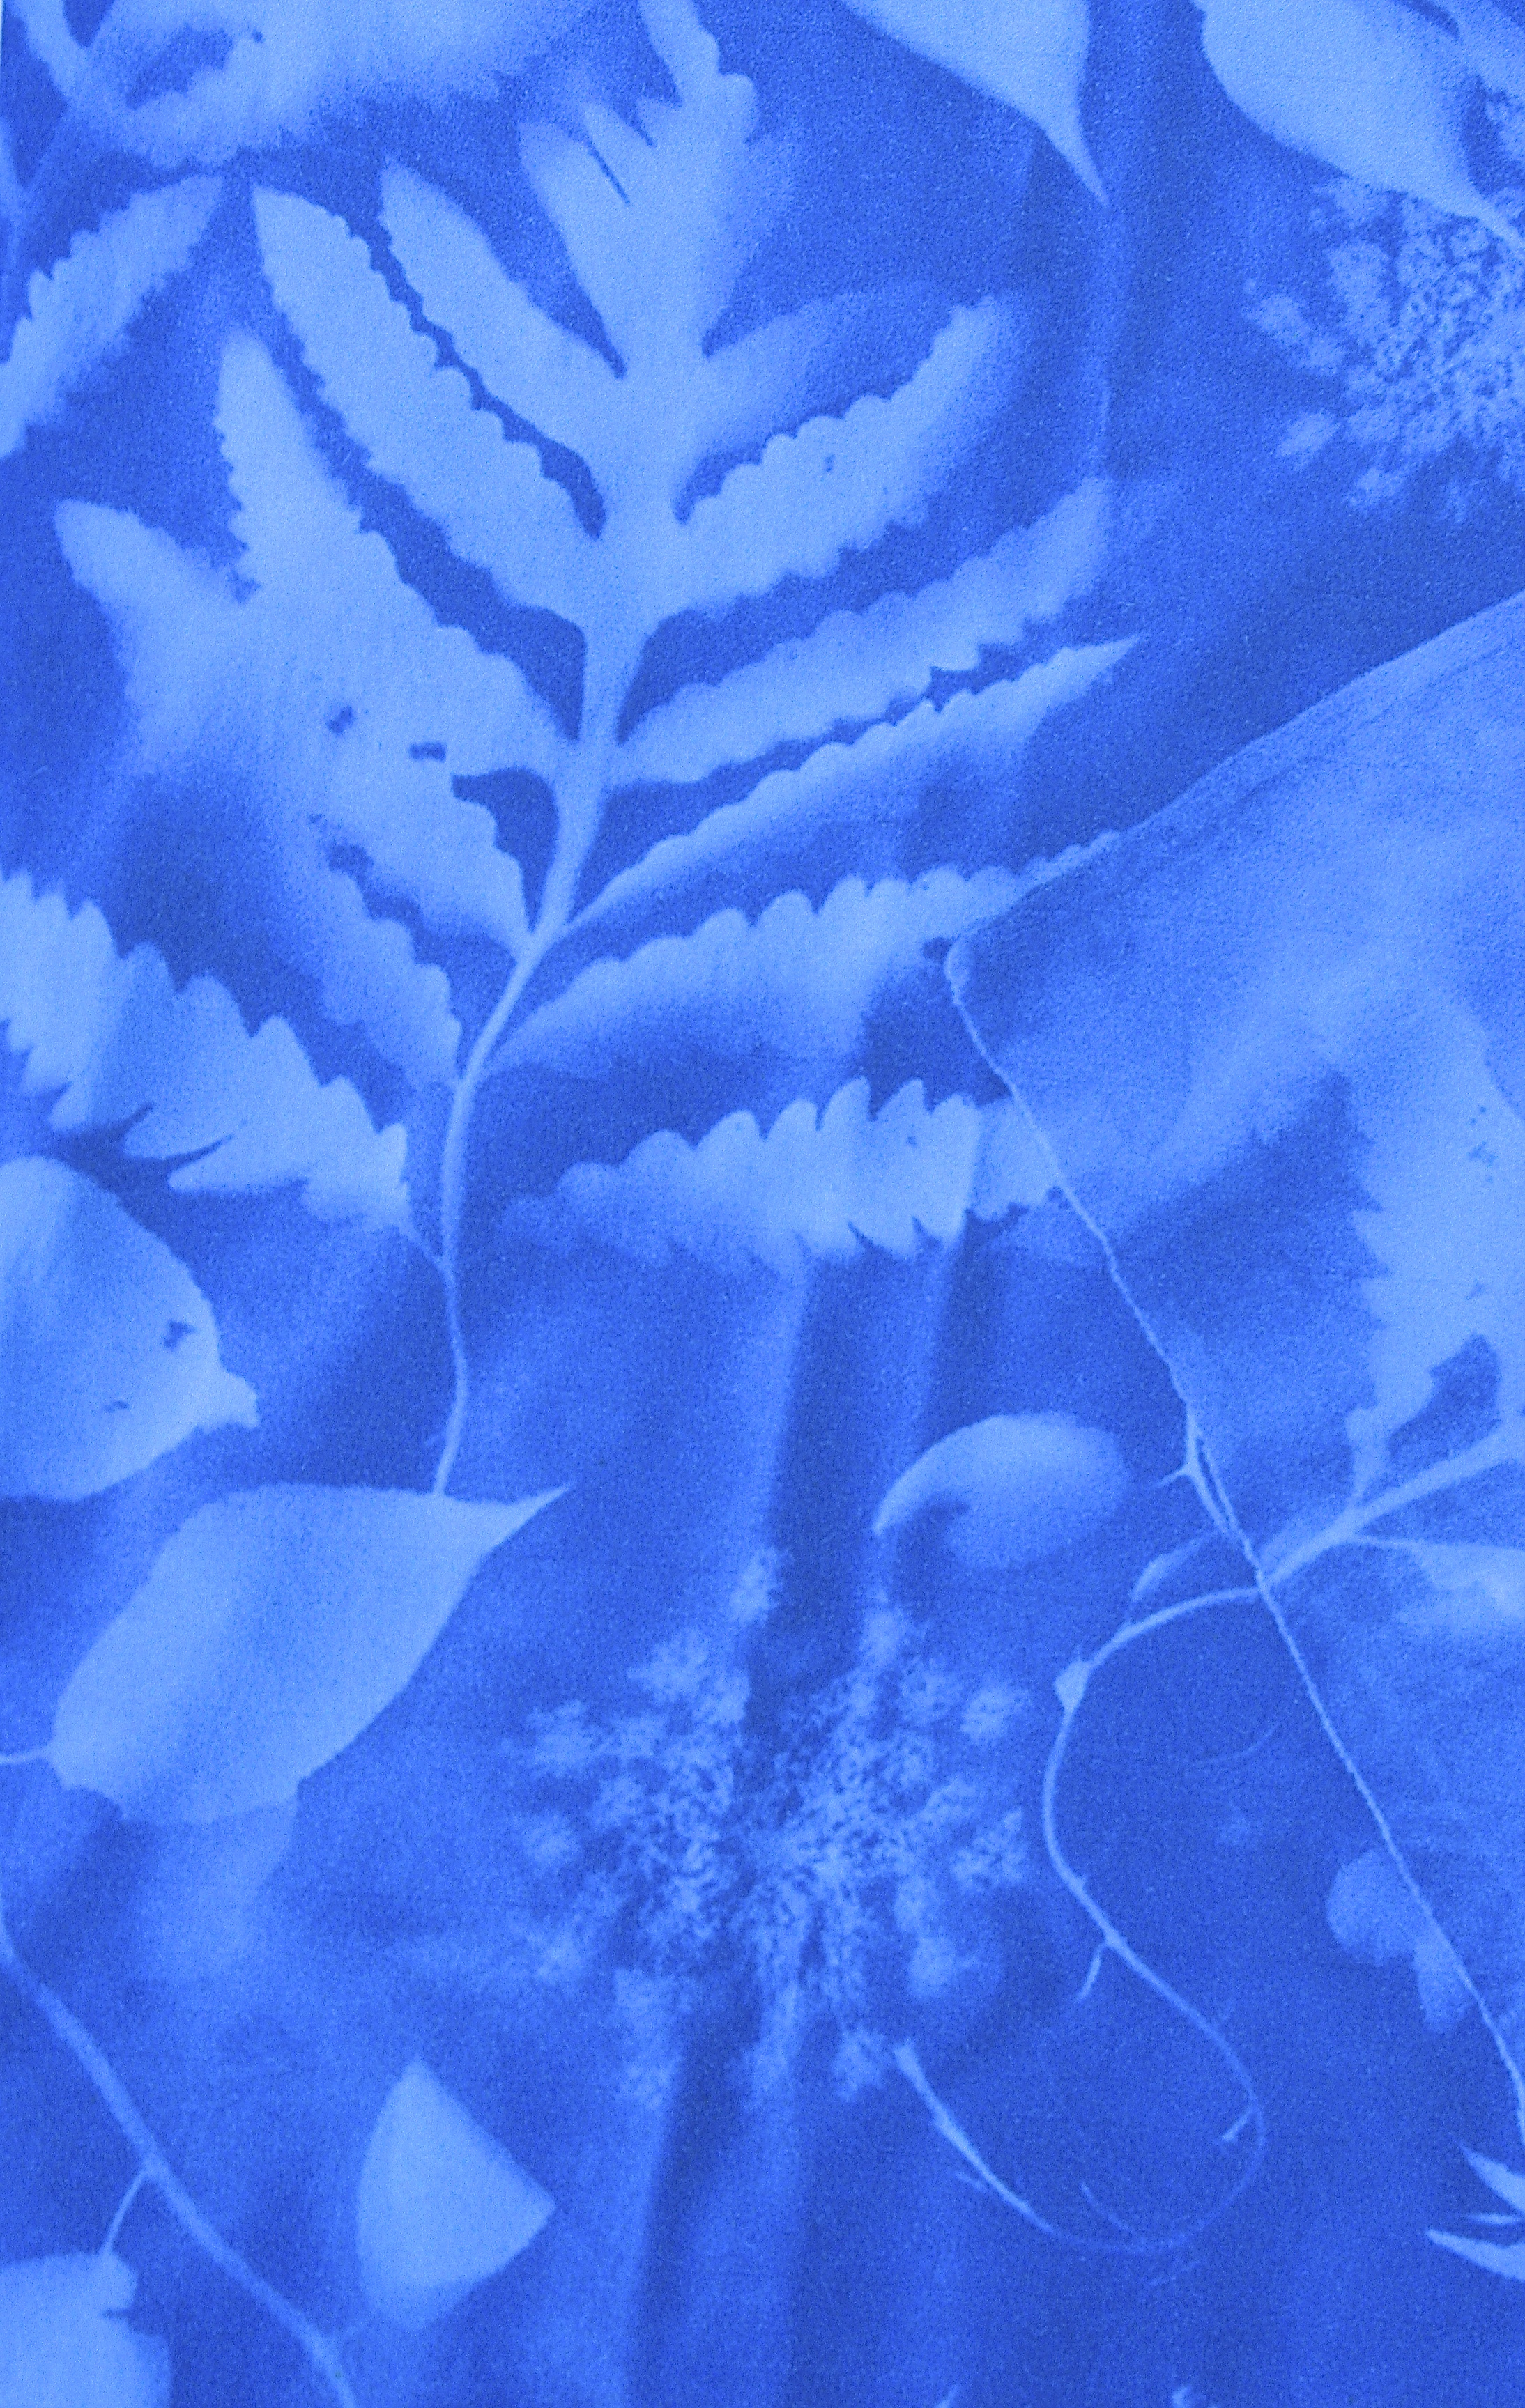
I created Plaster of Paris molds and Sunprints at the International House with moms and children in July. We worked outside to cut down on the mess. I brought in seashells, daisies, ferns and nuts and bolts. For each project, we used the following processes.

Sunprints

IMG_0935 - Version 2   IMG_0949 - Version 2 (1)

Lay out objects, such as leaves, flowers, nuts and bolts and lace on the blue Sunprint paper in the sun, wait 2-5 minutes till paper lightens and creates a quick print.

Rinse the paper under cold water to set the print.

Let dry. Flatten paper under heavy books to take wrinkles out.

Plaster of Paris

IMG_0914 - Version 2


Mix up the plaster.

Pour about one inch of plaster into a small Styrofoam meat tray.

Let the plaster set until almost dry, about 20 minutes.

Place daisies, seashells, nuts, bolts, or whatever you’d like into the plaster (texture side down).

Wait for the plaster to harden, for about 20 minutes.

Pull the objects out of the plaster or use a small knife to remove them.

I like the idea of working with natural and man-made objects, but I have to say the natural objects looked more beautiful. Making successful plaster reliefs was hit or miss. It was fraught with more problems than making a good lemon meringue pie! But when it works, the results are beautiful.


business cards009   business cards011

I printed business cards last summer using the online Moo Publishing House and was impressed with the quality of the cards. I put images of my former students’ art and my own art on the cards. I put them up in coffee shops, grocery stores, bookstores and libraries but it did not result in any paid gigs. One person said perhaps people don’t want to spend money on private art lessons at their home. I guess in this economy it makes sense that, if they have to choose, parents are rightly concerned with SAT tutors rather than with art enrichment. Wouldn’t it be great if we could do both?